You can connect a barcode scanner to Foodics Cashier to easily and quickly register products in the Cashier Orders.
In this guide we'll show you how to integrate Socket Scan 7Di or S700 Barcode Scanners with the Cashier Application.
Requirements
Add Barcodes for your Products. (in Console > Menu > Products).
Enable Barcode Scanners from Cashier Device Settings. (in Console > Manage > Devices).
Make sure bluetooth is enabled on your iPad that's running Foodics Cashier.
Make sure Foodics Cashier App is allowed to access bluetooth on your ipad. Go to iPad settings > Press on the Cashier App from the list of apps in the sidebar > Make sure that the Bluetooth is enabled.
Steps
From the Console
Activate the barcode scanning feature from the Cashier Device Settings:
From the console, click on Manage on the sidebar.
Click on Devices.
Choose the Cashier device you want to use with the barcode scanner.
Click on Device Settings.
Check Enable Barcode Scanners.
Save.
Sync Data from the Cashier Application (Home > Sync Data).
Now, On the Barcode Scanner
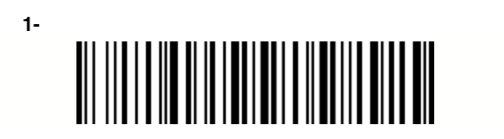
1- Press the small button in scanner till it turns on then scan the code shown in picture no 1.
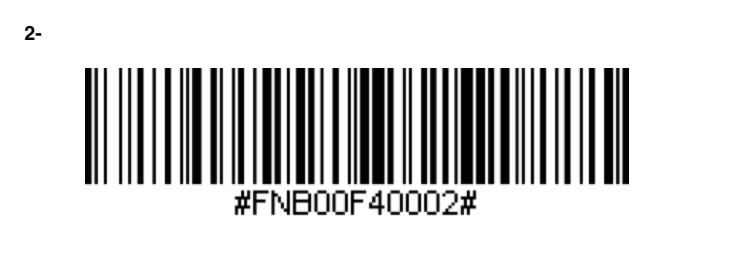
2- Press the small button in the scanner till it turns on then scan the code shown in picture no 2.
Finally, On the iPad
After you hear 3 beeps go to iPad Settings > Bluetooth > Then turn it on and tap on Socket CHS / S700 to be connected.
- Now open the app and start using the device.