Introduction
GetSwift is a delivery management software for real-time delivery dispatching, managing & tracking in a smart, simple interface.
For more details, visit GetSwift website at https://www.getswift.co
Enabling The Integration
1- Obtain Merchant Key from GetSwift
Contact GetSwift and ask for a Merchant Key that will be used in the integration. Without valid GetSwift Merchant Key, you will not be able to use the integration
2- Sign in to your Foodics account at console.foodics.com/login
3- Navigate to Marketplace page --> Search for Get Swift under Delivery Management category --> Click `Install
4- Foodics will ask for your permission
Click Authorize App To Access My Account to proceed
Click Cancel Authorization if you want to cancel the process
5- After clicking Authorize App To Access My Account, you will be taken to the integration settings page
Configuring GetSwift Integration
After successfully authorizing the integration, you will need to configure GetSwift through the integration settings page shown below

1- Click Edit in the top right corner of the box GetSwift API Merchant Key
2- Insert the Merchant Key you obtained from GetSwift and click Save
If the Merchant Key is valid, the settings will saved
If the Merchant Key is invalid, an error message will be shown
3- After saving the Merchant Key, the Branches Activation settings will appear as below
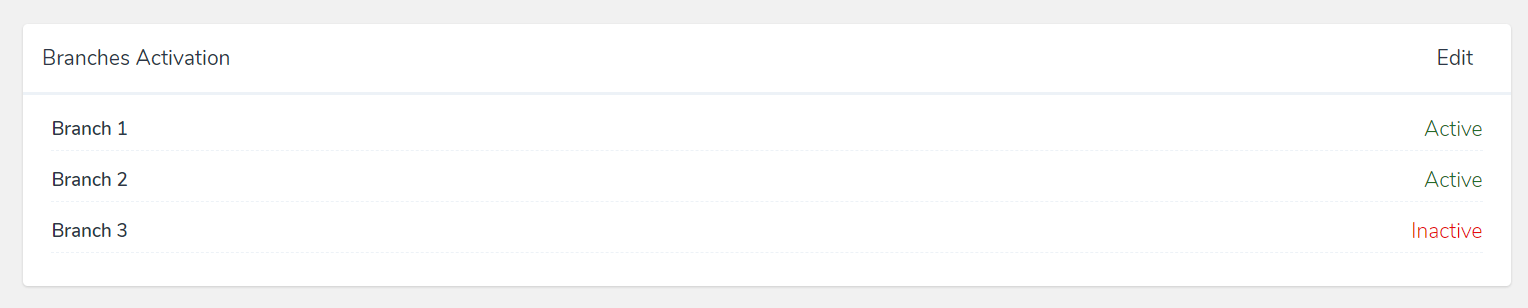
The Branches Activation is where you can define in which branches you want GetSwift integration to be active or inactive
Marking a branch Inactive means orders coming from that branch will not be sent to GetSwift
4- Click Edit in the top right corner of the box Branches Activation and add the branches you want to mark as Active, then click Save
You are done with the integration settings
How Orders are Sent to GetSwift
Orders will be automatically sent to GetSwift when the below conditions are met
- The order is created in a branch that is marked Active in the integration settings
- Order type is
Delivery - Order has customer and customer delivery address
- Order is marked as
Ready, details on this are provided in the last section
Note: Order will not be sent to GetSwift if cashier is active on the order, means the order is visible in the cashier screen. The cashier has to either Close the order through full payment or Move to another order
If all above conditions are met, the order will be automatically sent to GetSwift
How to mark order as Ready in cashier
1- Send order to Kitchen, either to Kitchen Display, or to Kitchen Printer
2- If order is successfully sent to Kitchen, in the cashier register screen, click MORE from the top right corner -> Click Mark Ready
Note: If order is not sent to Kitchen, the option Mark Ready will not appear